Now that the front panel is complete, it's time to install the exterior sconces.
The electrification process for these kits is complex. While I'm using the provided lighting for demonstration, you might consider a simpler, more durable alternative. Unlike traditional dollhouses, these kits don't allow easy access to wiring for future repairs without causing significant damage to finishes.
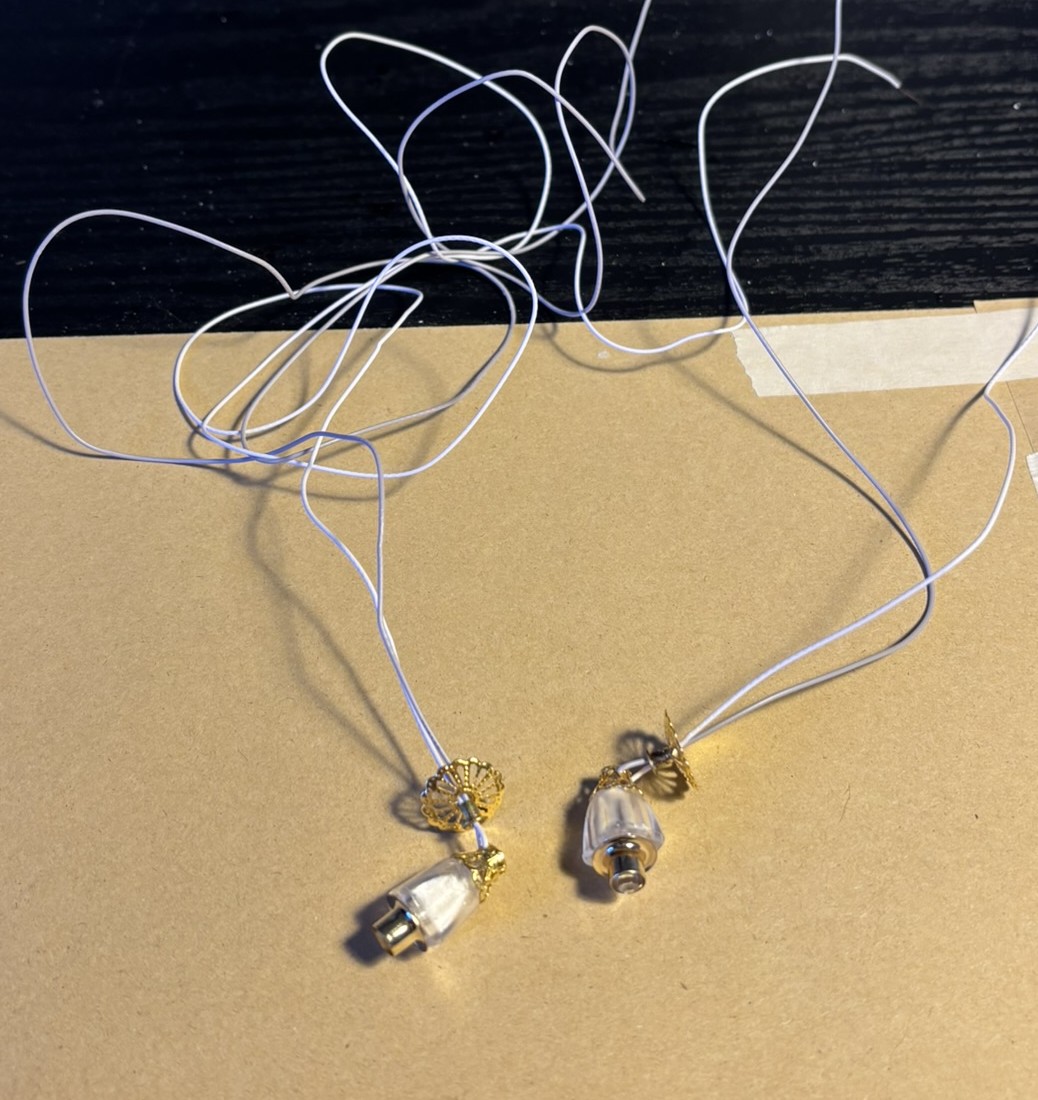
The sconces use separate light bulbs from the rest of the dollhouse. The reason behind this isn't clear, but it's important to use the correct bulbs to avoid potential issues. There are two transformers, but their specific purposes will likely be explained in later steps.
Before assembly, install new batteries in one transformer to test the bulbs. Apply tape around the bulbs as instructed; masking tape works best for this, not the kit provided tape. Secure the bulb to your work surface to make taping easier.
Assembling the sconces is challenging due to threading wire through the small holes in the sconce components. Be careful not to strip the wires. Install the sconces on the front panel and secure the wiring on the back according to the diagram. Placement is approximate, as no specific measurements are provided.
Use clear packing tape to adhere the wires to the wall, then cover with masking tape to match the dollhouse color. Packing tape is the only tape I recommend for adhering these wires. I
have tired other methods and the wires always become loose. Adjust the sconces carefully to ensure they're positioned correctly but do not expect for them to sit perfectly. They will be slightly tilted forward due to the positioning of the wires. Even in the instruction photos, this is how they look.
Set this panel aside for now.